As a teenager I often took advantage of living in Vienna and traveled across Central Europe by bus. In those days, there existed highway buses going down the same path as Vindobona, a long distance passenger train connecting Vienna and Berlin via Brno, Prague and Dresden. I occasionally took one of those highway buses to Bohemia and stayed in a cheap youth hostel.
There I encountered something I could never handle; the Czech keyboard. The keyboard looked similar to the German keyboard I was familiar with but the @ symbol shared the key with the number 2 and Czech/Sorbian letter ě. Finding a way to type the @ symbol was kinda difficult, while it was essential to check your email and chat histories.
There was no such thing as free Wi-Fi at that time. Nobody ever had smartphones, tablet computers or wireless travel routers. Every guest was encouraged to go to the front lobby or the computer room to use desktop computers with internet access. And all the computers had Czech keyboards. Because of the different keyboard layout, I could never use the computers properly and succeed logging in to neither Googlemail (Gmail service provided in Germany) nor facebook, while I was staying in the Czech Republic. I guess this was the first moment I became aware of keyboard layouts.
After returning from my weekend trip, I started learning to use the 104-key US ANSI keyboard. Since then, I’ve been using the US keyboard to write source code for my programs, edit TeX documents, type commands to the computer and do many other things. I must have wanted the standard keyboard available everywhere on the planet. I’m still not sure whether I was really on the right track. But my decision has helped me immensely, since I moved back from Vienna to Kyoto.
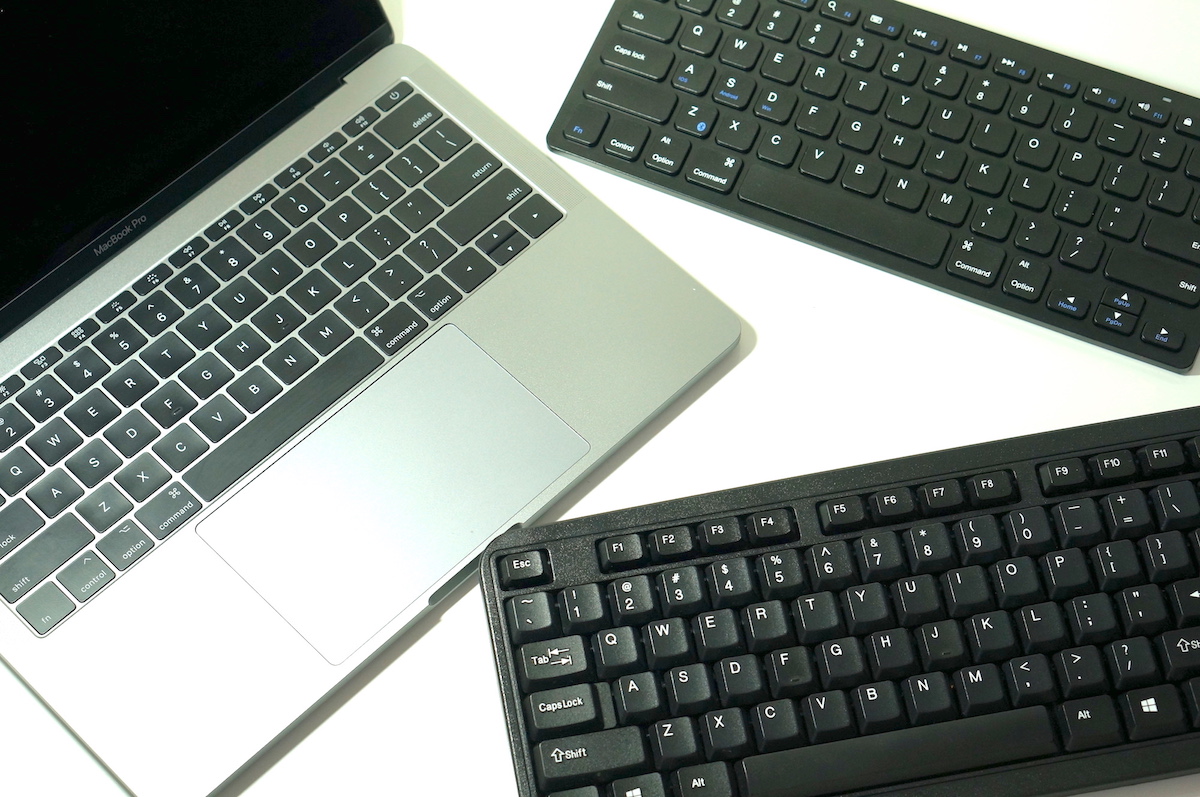
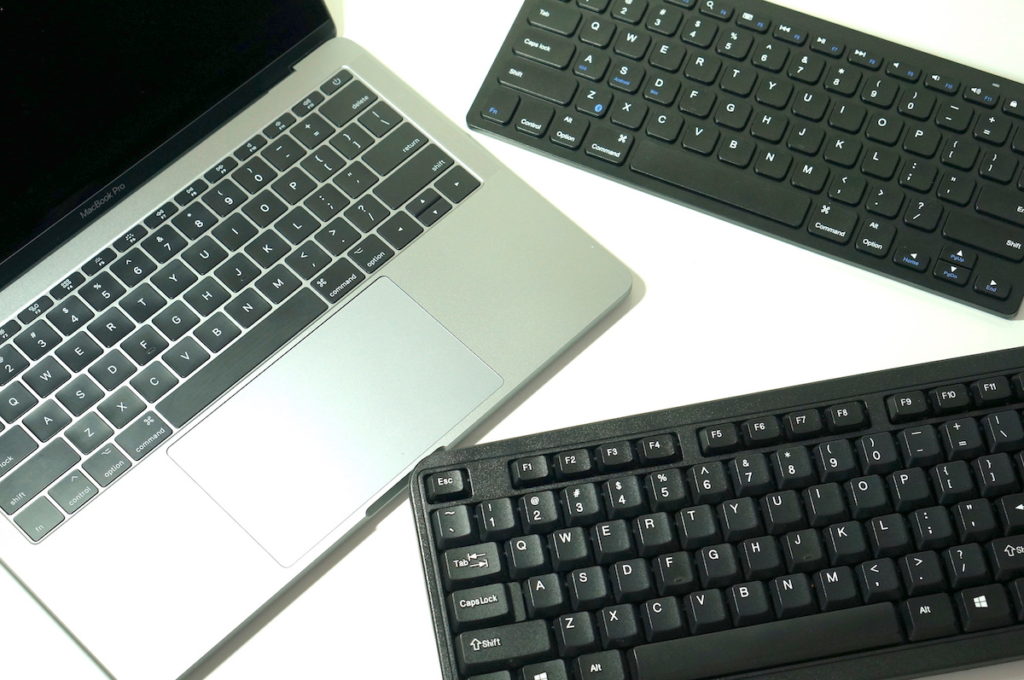
There are several US English layout keyboards sold in Japan. Some are expensive, others cheap. And the most of them are made by domestic brands and sold only in the internal market.
It’s really hard to identify good and poor keyboards without touching them. They look all the same in pictures but are different in build quality, have different switches and provide different typing experience. The differences can affect your performance as much as the keyboard layout. Finding the right keyboard will surely improve the comfort of your computer.
Here, I list three really good keyboards you may want to check at your nearest electronics store.


PFU Happy Hacking Keyboard Professional2 PD-KB400B
PFU’s Happy Hacking keyboard is one of the most beloved US keyboards in this country. Even though its layout is totally different from the Japanese keyboard, many computer programmers prefer this small keyboard over any other input devices. They appreciate the HHKB’s quality, reliability and minimalist layout that, in their words, enhances typing performance.
The HHKB isn’t just an ordinary compact keyboard; its layout is highly optimized for the UNIX environment. The keyboard has only 60 keys. The control key isn’t located on the bottom left side but to the left of the ‘A’ key. And there are neither function nor cursor keys on the board (they are mapped on the Fn layer, though).
The HHKB layout is much different from the common 104 keys layout you’re probably familiar with. If you are looking for a standard full-sized ANSI keyboard in Japan, you would be interested in either TOPRE Realforce or FILCO Majestouch. But if you write source code every day and night or are searching for a good, Linux-friendly keyboard, you would love this programming keyboard.


東プレ/TOPRE Realforce 104U-S 英語配列 XF01TS
Well known as the quiet mechanical keyboard, TOPRE’s Realforce is widely supported by clerical workers, typists, writers and those who sit in front of a computer screen for hours each day.
The Realforce isn’t really a mechanical keyboard but a hybrid of a mechanical and a rubber dome. TOPRE’s hybrid switches have different characteristics from other mechanical switches. Some people become addicted to the feel. Its switches, solid heavy body and high-profile spherical keycaps are all dedicated to your comfort.
And there are also 87-Key ANSI English Layout keyboards out there.


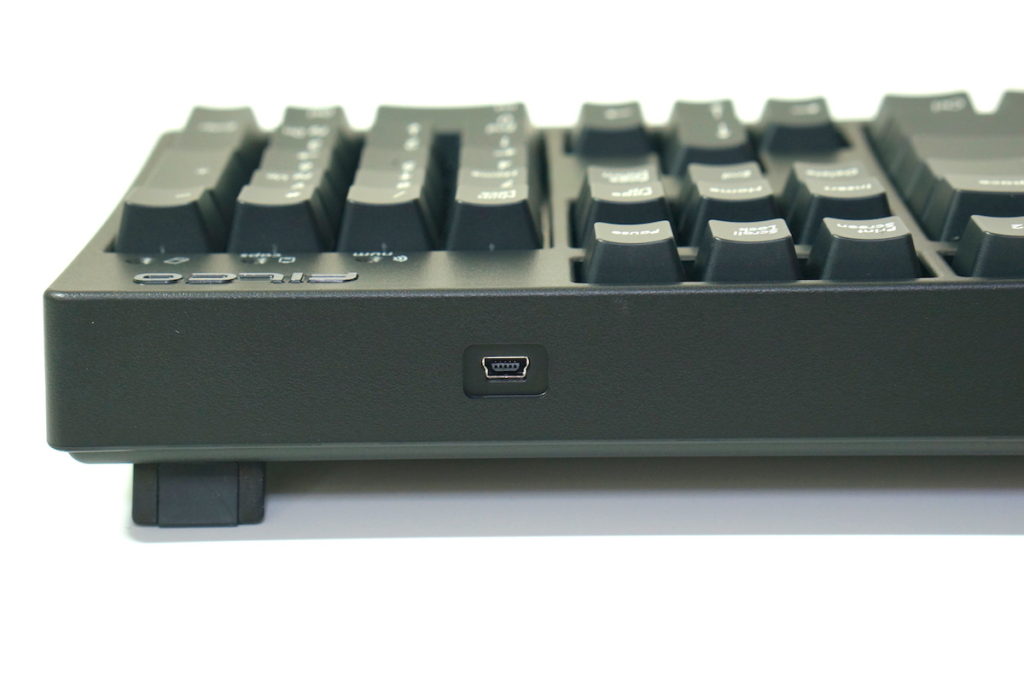
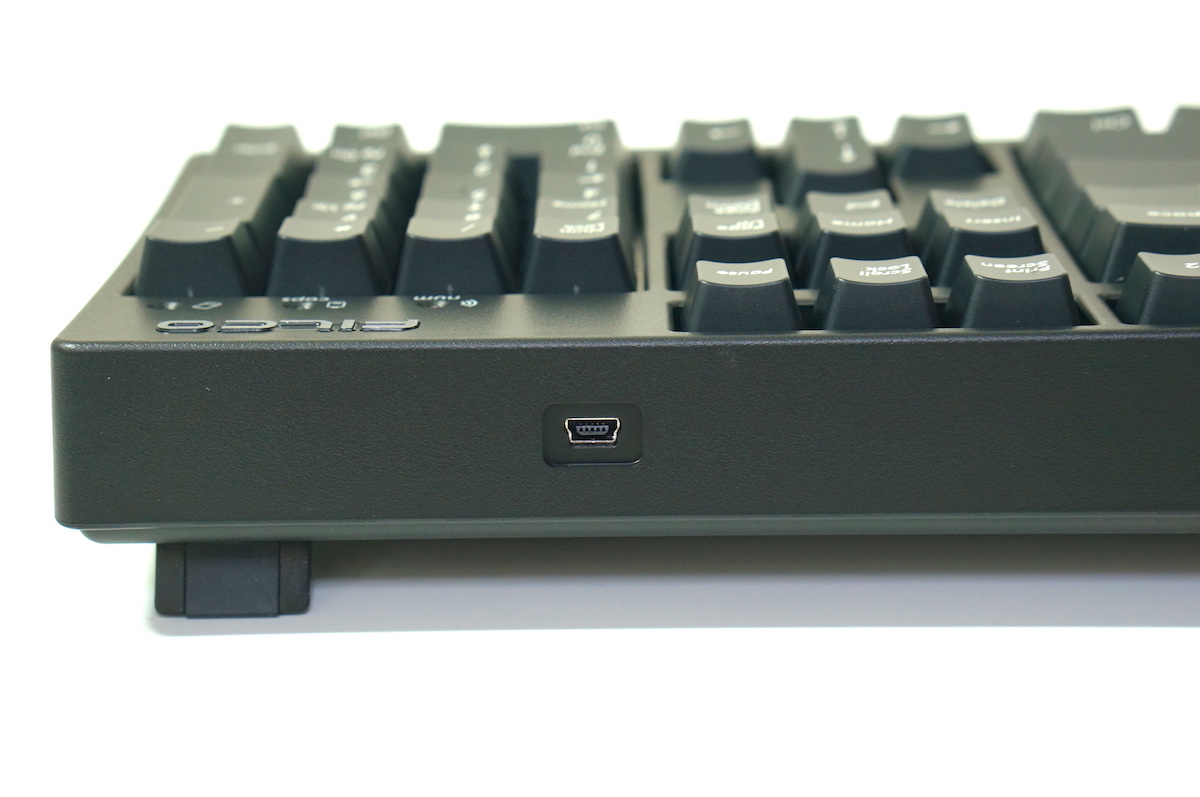
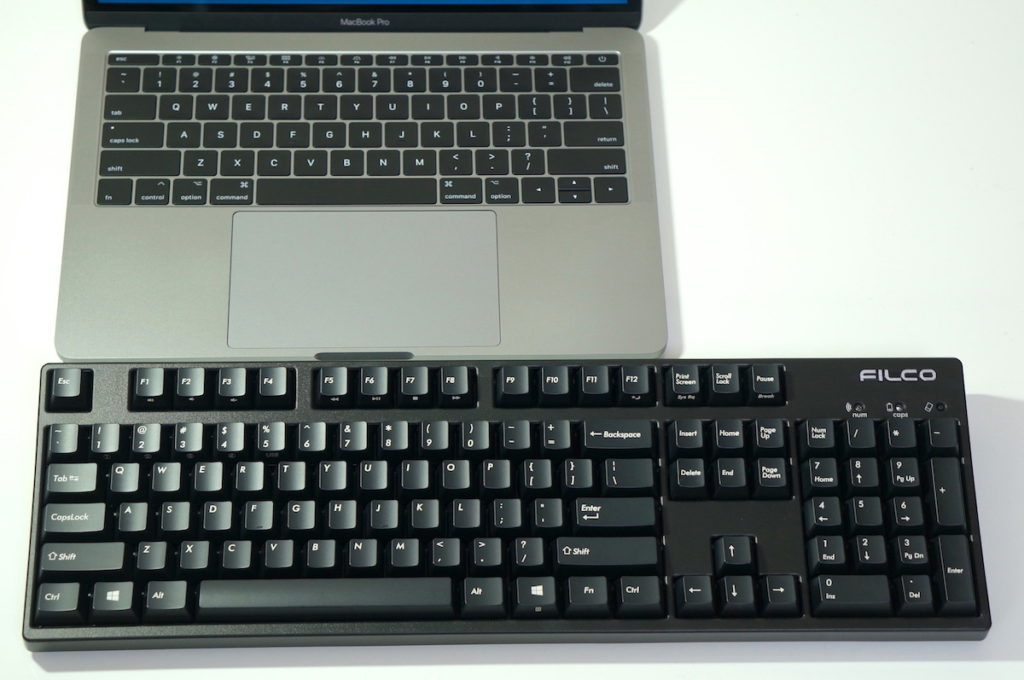
FILCO Majestouch Convertible2 FKBC104M (茶軸/Brown)
If you find that the typing feel of the Realforce or TOPRE switches is not for you, it’s time to consider FILCO Majestouch. It’s a mechanical keyboard with the Cherry MX switches.
In comparison with the Realforce, the Majestouch makes relatively loud clicking sounds. And the Majestouch has smooth-surfaced keycaps with visible lettering, while the Realforce has keys with a non-smooth surface. They both are thick and heavy.
I myself have been using a Majestouch for years. It’s just a good keyboard and feels simply the best on my hands. Touch one and you’ll instantly understand what I mean!