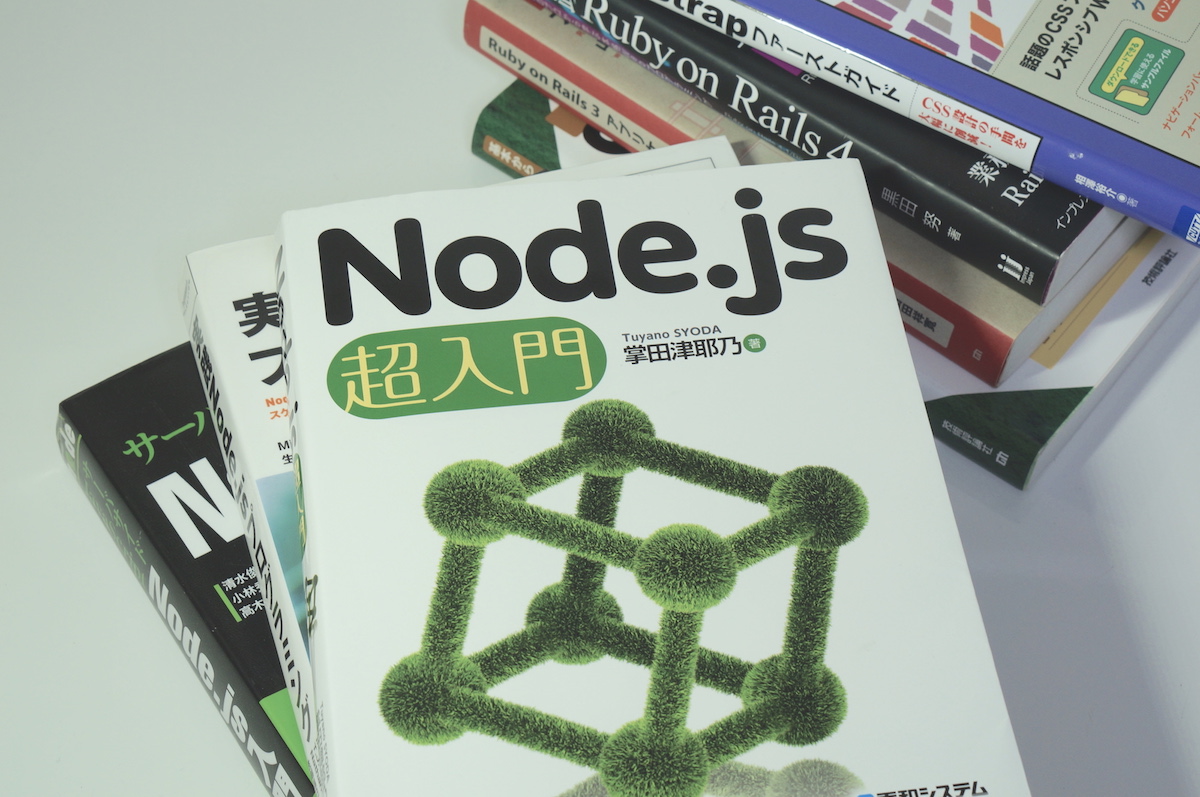
Migrating a WordPress from one server to another with Same Domain Name

I recently moved one of my WP websites to a new host. The old host was Japanese and the new is American. But the site’s URL remains the same. No one would ever notice the change until he checks the hosting provider. Migrating a WP website from one host to another with the same domain name is indeed quite possible. It involves only a few tasks that have to be handled carefully.

Set up your new hosting account

If you switch to a different hosting plan of the same web host, please skip this part. I assume most of you will switch to another host. You first need to purchase a new hosting plan and set it up before starting migration. Once you’ve set up your web hosting, you will be able to

  • create a database
  • install a new WordPress, and/or
  • connect to the server using a command line interface.

I list these actions, because they involve important functions for managing your WP site. And the functions are sometimes disabled by default. You may be required to get your account verified to use them. Some American hosts ask you to make a phone call. It’s no problem for US citizens or someone living in the United States. But if you are/live outside North America, you may need to be ready in advance for the questions you will be asked. Most US hosts do not have international toll-free numbers; you’ve got to make an international phone call at your own expense. In my case, the verification call lasted almost 9 minutes. So it is a good idea to write down your hosting account, invoice number and other information before you make the call.

Export & Import your WP data

You can download your old WP data without any plugin. Login to your old WP Dashboard and move to Tools Export screen. The Export screen looks like this. When you click “Download Export File” on the screen, an XML file will be generated and downloaded to your computer. The file name should look like

YOUR_WP_SITE.wordpress.YYYY-MM-DD.xml

and contains your posts, pages, comments, custom fields, categories, and tags. In other words, it does not contain your Plugins and Settings. You need to manually install new plugins and adjust all the settings after importing your old WP data into the new website. The XML file does not contain your old WP theme files, either. They can be found under

YOUR_WP_ROOT/wp-content/themes/

on your old host so you can transfer the theme files from your old host to your computer and then from your computer to your new host using an FTP client. Now you have every content you can move and think about installing a WP onto your new host.


Go to your new host and install a new WP onto it. And login to the new WP site and move to Tools Import screen. The screen will list several system importers. Just click “Install Now” of the WordPress option.

You will then be asked for choosing an XML file to upload. Press “Choose file” button, find the exported XML file and then hit “Upload file and import”.

Your old posts, pages, comments, etc. will be imported into your new WP site. Check and adjust your Permalinks, Plugins, Theme and other settings. It is also recommended to backup your new WP database at this point. You are going to edit the database. And if an unexpected error occur during editing, the WP will stop showing its entire posts and pages.

Edit your new WP database

If your new WP site’s domain name is set to the previous one, please skip this part. Otherwise you need to edit your new WP database. Access the database using command line or phpMyAdmin. Select the “wp-options” table and find “siteurl” and then change “siteurl” option_value variable from the current one to the domain name of your old WP site. And then find “home” and assign the domain name to its option_value variable, too.

Once you succeed in editing the database, you will not be able to access your new WP site until you assign your domain to your new host. Keep that in mind.

Assign your domain to your new host

Login to your new hosting and find “Domains” section on the control panel. If you cannot find one, try using a search form. In the “Domains” section, you will most likely find “Assign” menu and be asked for the domain name that you would like to assign. Enter the domain name and change the nameservers for it. Once the nameservers are updated, all your Domain Name System (DNS) records for your domain will be overwritten to your new host. It may however take at most 24 – 48 hours to take effect. And your migration will be completed.

Android 初心者がフラグメントを使う話

Android アプリ開発の入門書を手に取ると、まず画面の作成に始まり、必要な部品を追加してメソッドを実装し、他の画面への遷移へと順に進む方針で書かれていることが一般的です。

そこでは基本的にアクティビティ (Activity) というコンポーネントを使用することを前提に話が進みます。

アクティビティは私のような初心者にも直感的に理解しやすく、書籍などの情報量も多いので、当然と言えば当然なのかもしれません。

一方で現在の Android アプリ開発では、入門書の例のようにアクティビティをふんだんに用いて実装を行うのではなく、より小さなフラグメント (Fragment) というコンポーネントを利用して、個々のアクティビティの役割を少なくする考えが主流になっています。

その背景にはアクティビティの役割が増えすぎて肥大化していたことや、異なる画面の大きさを持つ多くの機器への対応などが挙げられていますが、本題ではない上に長くなるので割愛します。

重要なことは、一般的な Android アプリ開発では多用されているフラグメントについて、アプリ開発の入門段階では使い方を知る術が限られていることです。

たとえインターネット上には豊富に情報があったとしても、知らないものは調べられないのです。


フラグメントを使用するとタブの切り替えによる画面表示の変更などを簡単に実装できます。

それどころか、入門書で作成しているサンプルアプリではアクティビティほど多用な機能は必要ない場合も多いので、フラグメントのみで画面遷移を実現できる場合も少なくありません。

フラグメントの簡単な使用方法はアクティビティ同様に、Java ファイルと XML ファイルを用意してアクティビティに追加してあげることです。

例えば Java ファイルを FooFragment.java として、その内容を以下のようにしてやれば、他に必要なことは2点のみです。

public class FooFragment extends Fragment {
    /* 省略 */
    @Override
    public View onCreateView(LayoutInflater inflater, ViewGroup container,
                             Bundle savedInstanceState) {
        View view = inflater.inflate(R.layout.fragment_foo, container, false);
        // view.findViewById() などで何かする場合にはここに実装
        return view;
    }
}

1点目はコード中の R.layout.fragment_foo で参照されている XML ファイル fragment_foo.xml を作成してあげること。

<android.support.constraint.ConstraintLayout
    xmlns:android="http://schemas.android.com/apk/res/android"
    xmlns:app="http://schemas.android.com/apk/res-auto"
    xmlns:tools="http://schemas.android.com/tools"
    android:layout_width="match_parent"
    android:layout_height="match_parent"
    tools:context="info.femoghalvfems.sample.FooFragment">
    <!-- 省略 -->
</android.support.constraint.ConstraintLayout>

もう1点目は作成したフラグメントをアクティビティに追加してあげることです。

public class MainActivity extends FragmentActivity
        implements FooFragment.OnFragmentInteractionListener
{
    @Override
    protected void onCreate(Bundle savedInstanceState) {
        super.onCreate(savedInstanceState);
        setContentView(R.layout.activity_main);
        FooFragment fragment = new FooFragment();
        FragmentTransaction transaction =
        getSupportFragmentManager().beginTransaction();
        transaction.add(R.id.layout_activity_main, fragment);
        transaction.commit();
    }
}

この時、追加するフラグメントの OnFragmentInteractionListener を実装してあげないと InflateException を吐いてアプリが落ちますので、忘れずに実装してください。

InflateException は他のエラーと同様に Android Monitor の logcat から確認できます。

E/AndroidRuntime: FATAL EXCEPTION: main
Process: info.femoghalvfems.sample, PID: 13994
                                                                                      java.lang.RuntimeException: Unable to start activity ComponentInfo{info.femoghlavfems.sample/info.femoghalvfems.sample.MainActivity}: android.view.InflateException: Binary XML file line #12:
Binary XML file line #12: Error inflating class fragment
### 省略 ###
Caused by: java.lang.RuntimeException:
info.femoghlavfems.sample.MainActivity@87ac4dd must implement OnFragmentInteractionListener

これでうまくビルドに成功すれば、アプリの立ち上げ画面からフラグメントのレイアウトを表示するようになります。

レイアウトを切り替えるにはフラグメントから FragmentManager を利用します。

public class FooFragment extends Fragment implements View.OnClickListener {
    /* 省略 */
    @Override
    public void onClick(View v) {
        FragmentManager manager = getActivity().getSupportFragmentManager();
        manager.beginTransaction().replace(R.id.layout_activity_main,
        BarFragment.newInstance("", "")).addToBackStack(null).commit();
    }
}

この時に忘れてはならないのは、追加されるアクティビティ (ここでは MainActivity) に追加するフラグメント (ここでは BarFragment) の OnFragmentInteractionListener を追加実装してあげることです。

このようにアクティビティと比較するとやや煩雑になってしまいますが、入門書で作成したサンプルアプリを使ってアクティビティからフラグメントを使用した構成に自分でコードを書き換えていくと、アプリ開発についての理解が深まって良い勉強になります。

そしてあまり入門書では触れられていない、FragmentTabHost を用いたタブの切り替えも簡単に行えるようになる点も見逃せません。

2冊目の参考書に『基本からしっかり身につく Android アプリ開発入門』を購入

『はじめてのAndroidプログラミング』の読了後に2冊目として『基本からしっかり身につくAndroidアプリ開発入門』 (以下、本書) を購入しました。

購入理由は Android 端末のストレージ操作とカメラ撮影を用いたアプリ開発について、短時間で効率的に学習したかったためです。

時間をいくらでも費やせるのであれば、自らソースコードを読み込んで学習しても良いのですが、時間を掛けずに体系的に知識を会得するには書籍を購入して自分で手を動かしながら検証した方が確実です。


基本からしっかり身につくAndroidアプリ開発入門 Android Studio 2.x対応 プロが本気で教えるアプリ作りの基本「技」 (ヤフー黒帯シリーズ)


本書はまさに2冊目に読む参考書として適当な内容で、ある程度のアプリ開発経験を持っていた方が内容が頭に入りやすいです。

というのも第1章でアプリ開発環境に触れた後は、アプリのコンポーネントとそのライフサイクル、リソースやパーミッションの話が始まります。

少しでもアプリ開発の経験があれば、なるほどと感心するところですが、前提知識を持たずに読むと何について解説しているのか具体的なイメージが思い浮かばずに混乱するかもしれません。

さらに付け加えると Java 言語の説明はありませんので、ソースコードを読み、何をしているのか理解できることが前提となります。

とりあえず動くアプリを開発したいという目的であれば、『はじめてのAndroidプログラミング 改訂版』を本書の先に読み、コンポーネントの名称や役割をアプリを動かしながら覚えた方が早いです。

前提知識があった方が望ましい反面、本書ではどの処理で何をすべきであり、何を避けるべきであるかが理由とともに述べられているところが本書の長所です。

具体的な開発経験からくる的確な助言が、処々に述べられており、この説明部分だけでも読むだけの価値があります。


短所はプログラムのソースコードが一部おかしかったり、( 紙面が足りなかったのか ) 本来は分けて説明すべき項目を一つの章にまとめているので、書籍やプログラムの構成が煩雑で分かりにくい部分が存在することです。

また出版時期の影響から現行の AndroidStudio Version 2.3 と ConstraintLayout に対応していません。

ソースコードがおかしい部分の一例としては、Chapter 3 の MainActivity.java クラス (pp.137) が挙げられます。

本書では以下のように View.OnClickListener をインプリメントしているのですが、これでは public void onTextChanged などの一部のメソッドをオーバーライドすることはできません。

public class MainActivity extends AppCompatActivity implements View.OnClickListener

仕方がないので、いつものごとくソースコードの内容を勝手に書き換えて対応します。

public class MainActivity extends AppCompatActivity implements TextWatcher, View.OnClickListener

これが正解かどうかは分かりませんが、本書の説明どうりにアプリが起動するようになるのであれば、ソースコードを改変したところで大きな問題はないというのが私の方針です。

余談ですが、ソースコードの書き方には冗長に見える場面があったり (pp. 208)

for(String foo : bar){
   if(!check()){
      throw new Exception();
   }
}

と思いきや、その直後のページ (pp. 209) では余分な文字を省略したりという具合に書き方が安定しません。

if(!check())
   throw new Exception();

もしかしたら、それぞれ別の人が書いたか、別の時期に書かれたソースコードなのではと思えてきます。

どうでも良い余談は置いておくとして、書籍やプログラムの構成が煩雑で分かりにくくなっていることが顕著なのは Chapter 4 です。

この章ではファイルの入出力とデータベースの利用とコンテントプロバイダの利用を行うクラスを実装しているのですが、どこまでが説明のための実装例で、どこまでがアプリを動かすための要素として必要なクラスなのかが分からずに混乱します。

見方を変えれば、具体的な実装例がいくつも提示されていてありがたいとも言えるのですが、改訂版では分かりやすく整理して頂けると私のような読者は助かります。

当然ながら本書一冊で Android 開発に求められる知識を網羅しているわけではありませんが、通読したことにより具体的な実装方法のみに留まらず、気を配るべき事項や実装中に注意すべき点などを学習することができたことは大きな収穫でした。

本書は Android アプリ開発の入門書を読み終えて、少しステップアップしたい私のような読者には役立つ書籍と言えそうです。